Animation & Rigging
Animation & Rigging
Animation & Rigging
Artists to turn their still characters into
impressive animations
Charater Animation
Character is a particular area of the action, which involves bringing animated qualities to life. The function of a Character Animator is comparable to that of a film or stage and character animators are often said to be “actors with a pencil”. Character animators inhale life in their characters, creating the illusion of thought, passion and nature. Character animation is often famous from individual animator, which involves bringing real images and tool to life.
Non-Linear Animation
Along with the more “conventional” approach of animating characters, looper offers the Non-Linear Animation (NLA) Editor, where you can blend various actions to produce new periods. This editor allows a lot of resilience, with the ability of multilayer simple actions to create a knottier animation. Tasks such as repeating and reversing an animation, which demands time and care to do in the info Sheet, are very simple to do on the NLA.
Shape Keys
Enable you to twist a single oppose into many new shapes. Since they’re fundamental to animation and mock-up, let’s see how they work. Once you’ve established a 3D model, you’ll desire to bring it to life with animation. 3D expert carryout these changes by “warping” the grid. To wrap a grid in Blender, you can use two primary methods:
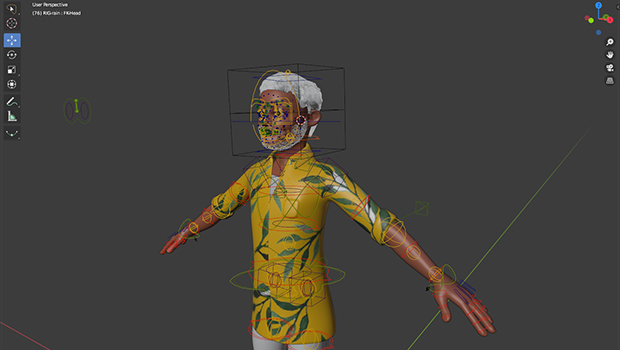
Bones are oppose typically used by animators to shift and whirl a group of apices, much like the way a skeleton interacts with muscles. As the bones bottom the grid move, escort vertices are warped.
A shape key works another way to a bone, in that a shape key is not an object in itself, but a saved change to the object. Shape keys can be activated by bones and drivers to achieve precise grid wrapping.
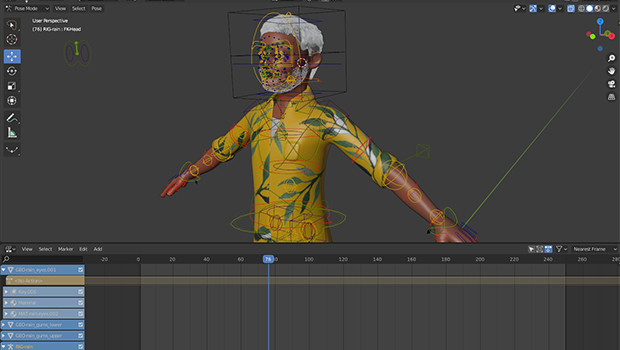
Motion Paths
The Motion Paths gadget enables you to fancy the motion of observations as paths over a sequence of frames. These points can be intent origins and bone joints. To create or remove motion paths, it is required to first choose the bones. Then:
To reveal the tracks (or update them, if needed), click on the Calculate Path button.
To hide the route, click on the Clear Paths button.
The paths are shown in a light tint of gray for unselected points, and a slightly blueish gray for selected ones.
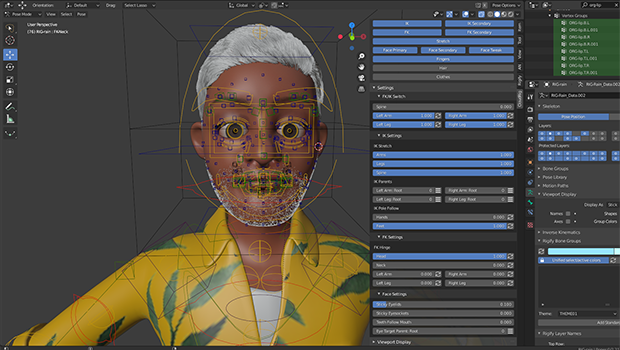
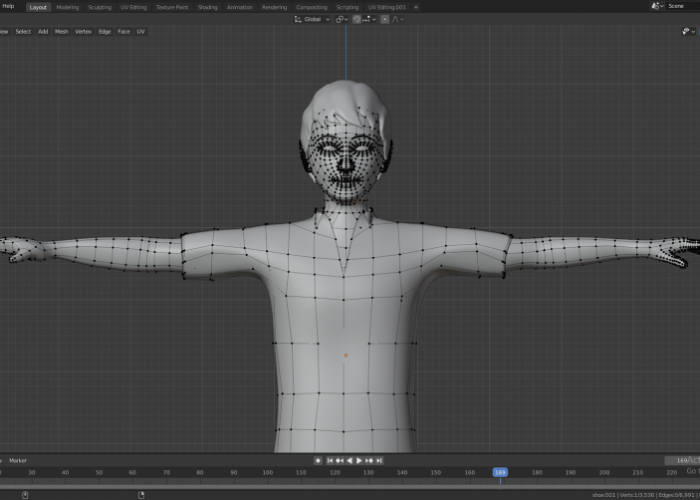
Bone Layer Management
3D coat differs from the coating you may know from 2D graphics applications as they have no sway on the design order and are there mainly to enable you to set up your scene. Cluster and ancestors are other ways to logically group related sets of objects.